Last Updated on June 23, 2026
Inspection Process
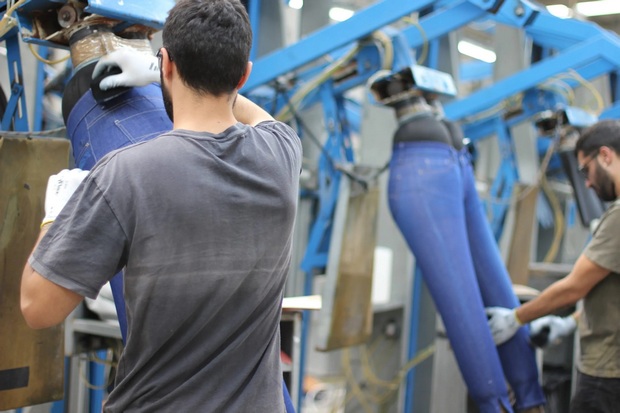
The finish goods what we purchased from the market is the results of many people’s efforts. Generally, designer, material provider, operator, and producer are directly involved in generating a garment. It is mention-able that customer will never purchase quality less product from the market. But it is also too tough to keep product quality when it produced in bulk production. To ensure product quality, Q.A guy has to scrutiny every point with full concentration. Before starting, keep the approved sample, measurement sheet, and defect checklist beside you so every observation is checked against the same standard.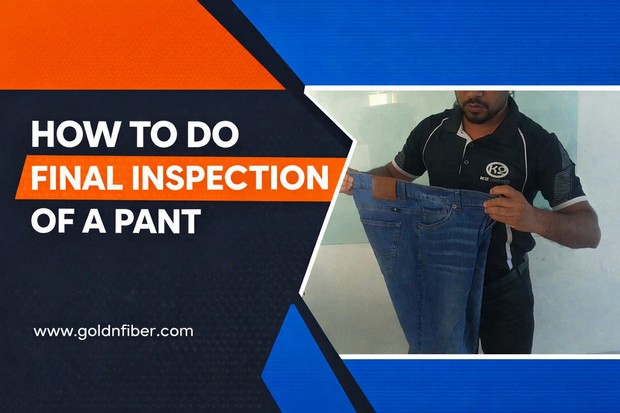
It would be better if a QA guy obeys the following instructions carefully:


Finally, turn the garment from inside to outside, if OK then passes if not then put sticker where found any defect, puckering, dent or item missing or any technical error etc. Record the defect type and exact location on the inspection sheet so repeated problems can be corrected at the source.
A careful final inspection protects both the buyer and the factory by catching visual, construction, and measurement issues before shipment.
Frequently Asked Questions (FAQs)
Q1. What is the final inspection checklist for trousers?
Ans: A final inspection checklist for trousers usually includes appearance, measurements, stitching, waistband, pockets, zipper, leg openings, labels, and inside seams. The finished pant should be compared with the approved sample and specification sheet before it is passed.
Q2. How do you inspect pants before shipment?
Ans: Inspect the pant flat and inside out, then check both visual quality and measurement points. If any defect or out-of-tolerance measurement is found, mark it clearly and separate the garment for rework or rejection.
Q3. What are the common defects in pant final inspection?
Ans: Common defects include puckering, skipped stitches, open seams, wrong measurement, uneven leg opening, zipper problems, missing labels, and poor print or stripe alignment. These defects should be traced to the exact area so the sewing team can correct them quickly.
Q4. Which measurements are checked in pants quality inspection?
Ans: The main measurement points are waist, hip, thigh, rise, inseam, and leg opening. Use the same measuring method for every piece so the result stays consistent across the lot.
Q5. What is the difference between inline inspection and final inspection in garments?
Ans: Inline inspection is done during sewing to catch defects early, while final inspection is done on the completed pant before packing or shipment. Final inspection confirms that the garment meets the buyer requirement at the end of production.