Last Updated on June 11, 2026
Introduction
Once upon a time, people wore hand-stitched clothes but due to the change of era and industrial revolution, various types of machines are being used in the garment industry while preparing clothes. Sewing machines are one of them which play a vital role in apparel making. Nowadays most of the apparel industry use eclectic sewing machine. It would be better if you had a basic idea about different parts of the sewing machine so that you can take care and troubleshoot easily when problems do arise and keep the machine clean, because lint, broken thread, and a bent needle often create simple faults. It is mandatory for the sewing operators to know the basic parts of sewing machine and how they work. In this article, I am going to elaborate on the sewing machine’s several parts and their functions with clear images for your easy understanding.
Parts of a Sewing Machine and Their Functions
Please look at the following picture to know a electric sewing machine parts at a glance. The basic sewing machine components are shown in that picture and their functions with pictures are described below for a basic industrial or domestic machine; the exact layout may vary by brand.
Functions of Different Parts of Electric Sewing Machine with Images
An electric sewing machine exist several parts according to function. The exact number of user-facing parts varies by model and brand, according to current machine manuals. Here we are giving a sewing machine parts list and sewing machine parts picture for your easy understanding. Sewing machine parts name and their functions are described below for your reference.
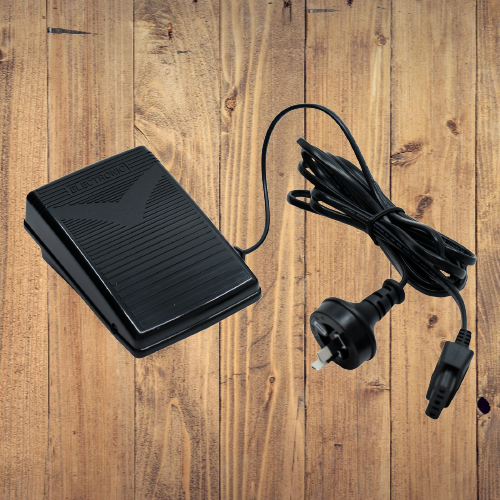
1. Foot Pedal
It is a very simple tool who controls the speed of the machine which depends on the pressure applied on it. Sewing machine speed can be controlled by leg pressure. On many industrial machines, a servo motor gives smoother low-speed control than older clutch motors. However, since the sewing machine speed may be adjusted with just one adjustment and is then started and stopped by pressing a button, it is not a necessary component of high-speed sewing machines.
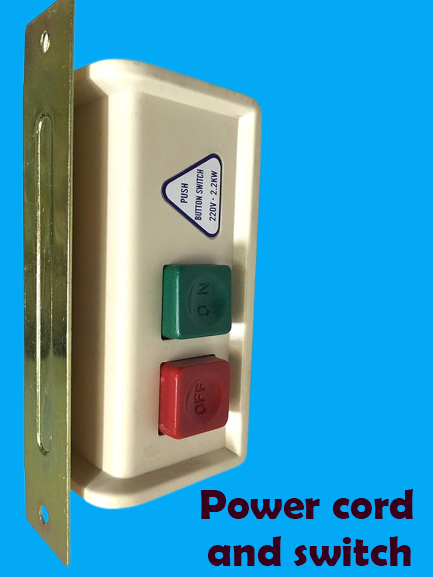
2. Power Cord and Switch
The power cord, which must be tightly linked to the machine for a continuous flow of power, is what provides the machine with electricity. The power switch is used to electrically turn on and off sewing machines.
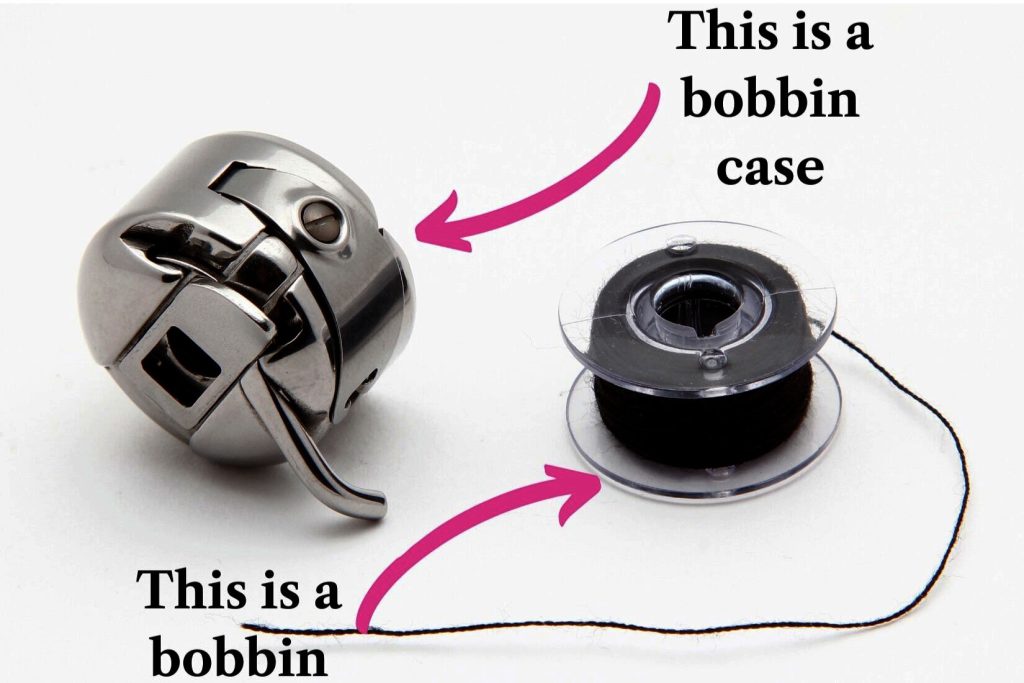
3. Bobbin Case
In this situation, the bobbin needs to be mended. This is located behind the needle plate and typically has a piece of plastic that folds up to cover the bobbin case when stitching is not being done. In top-loading machines, the bobbin sits in a drop-in holder, while front-loading machines use a removable bobbin case. In many sewing machines, bobbin casings cannot be swapped.

4. Bobbin
A bobbin is a little container that attaches to the bobbin casing and holds the bottom sewing thread. The bobbin winder fills the bobbins, and the thread should be spread equally throughout so the thread feeds without jerks.
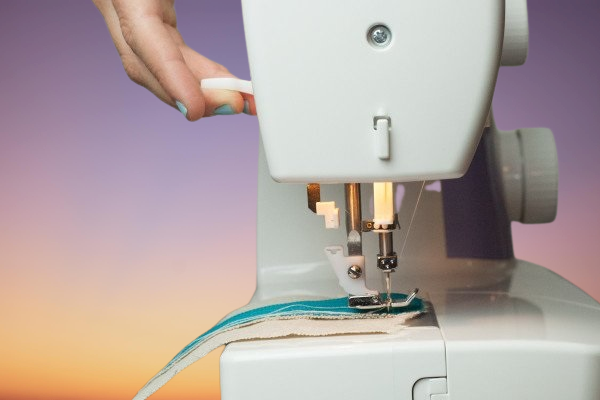
5. Hand Wheel
To provide better control while positioning fabric beneath the needle, it is used to slowly raise and drop the sewing needle manually. The clutch knob, which is located inside the wheel, serves as a safety element by preventing the needle from jabbing up and down while winding a bobbin when the knob is pulled out, and you should always turn it by hand if the needle gets stuck in fabric.

6. Reverse Lever
It is located on the machine’s front side. This is done to create reverse stitching while securing each seam with a stitch at the end, and a few back stitches are usually enough to lock the seam.

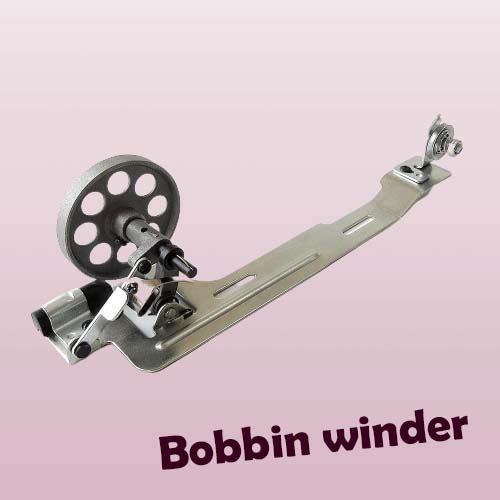
7. Bobbin Winder
This device is used to wind bobbin thread onto a bobbin that is empty. Bobbin winders can be found on the machine’s right or upper side on most models.
8. Pattern Selector
This tool is used to choose the type of stitch to be used while sewing on cloth, such as zigzag or embroidery stitches. In addition to straight stitches, a range of stitches can be chosen depending on the machine type, and some straight-stitch-only machines do not have this dial.

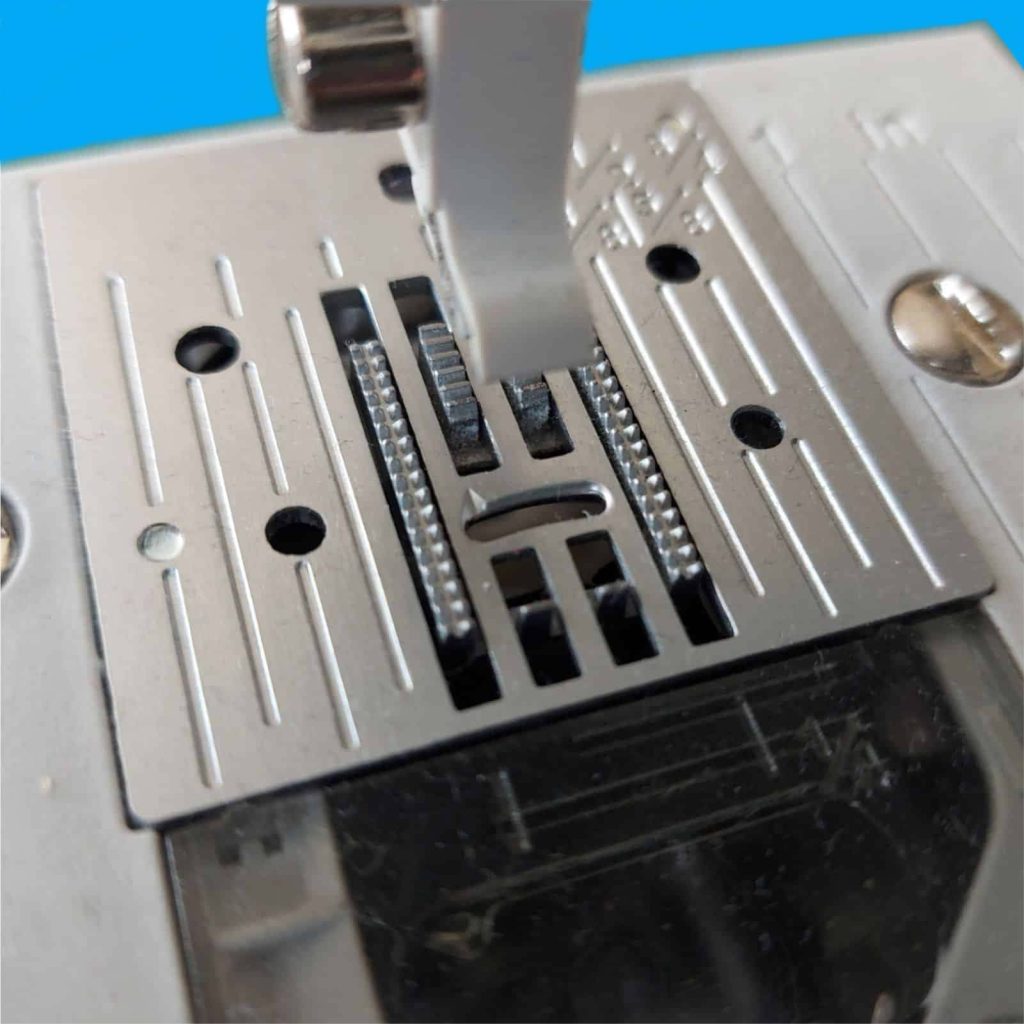
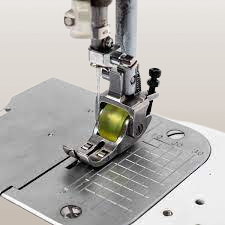
9. Throat Plate
It has stitching guide lines, two slots for the feed dog to travel through, and a hole for the needle to go through to the bobbin casing. It is a removable component that protects the sewing machine’s bobbin and base, and the needle hole should stay clean for smooth stitch formation.
10. Sewing Light
It makes it easier to thread the needle and lets you see your sewing both during the day and at night.

11. Spool Pin and Holder
It holds the thread while also directing the flow of the thread through the machine ; if you use large cones, an external thread stand can help the thread feed evenly.

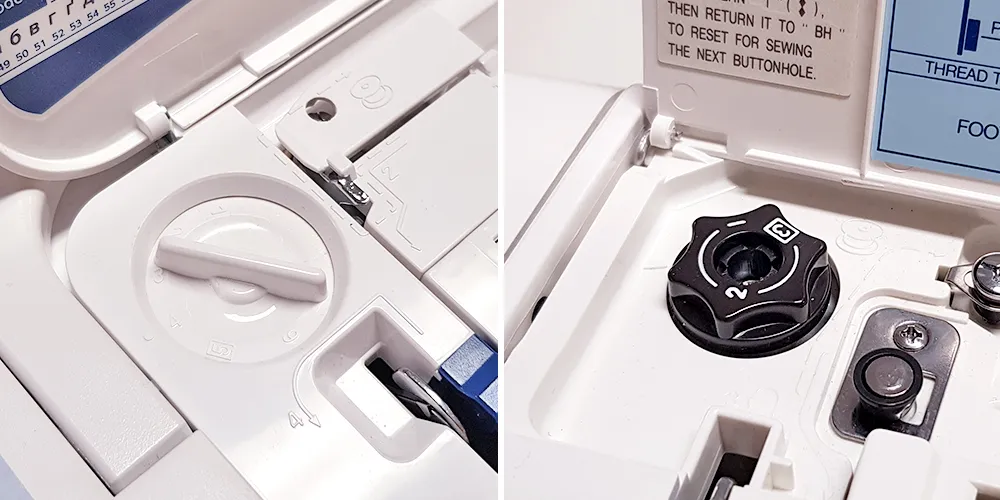
12. Stitch Length Adjustment
- The stitch’s length is determined by the stitch.
- The machine has a range of 0 to 5 mm on many current models, according to current Brother CS7000X and Juki DDL-8700 user manuals.
- The shortest stitch is zero, while the longest is 5 mm on many current models.
- The stitch length adjustment allows you to change how long the sewing machine’s stitches are. The feed dog, not the machine needle, is where the correction is made. For light seams use a shorter stitch, and for basting or temporary sewing use a longer stitch.

Fig: Stitch length adjustment

13. Needle and Needle Clamp
A little screw secures the needle in the needle bar, which it fits into. The needle is secured in place with a needle clamp, and a bent or wrong-size needle can cause skipped stitches.

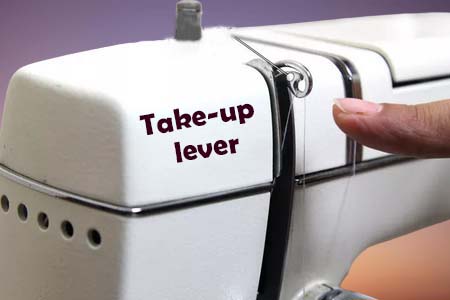
14. Take-up Lever
The take-up lever pulls back the needle thread after each sewing to set the stitch and moves up and down during the stitch formation to supply the additional thread while making the loop. It is employed to maintain the ideal needle thread tension, so if the top thread forms loops, rethread the machine and check the lever path first.
15. Tension Disks
The stitch’s stiffness or looseness is determined by the thread tension. To ensure a uniform feed of the thread to the machine needle, tension disks regulate the pressure applied to the thread. The primary purposes of a tension device are to
- Maintain the smoothness in stitching
- Control the thread passage precisely
- Regulate the flow of the thread
- Position the thread to needle
Direct and indirect tension devices are two different types of tension devices. Parts like (a) pressure disk, (b) tension spring, (c) tension mounting bar, (d) thumb nut, and (e) pressure releasing unit are present in both types.

The tension dial with graduated numbers on it is used to adjust tension on high-speed, contemporary machines. The tension increases with the number and vice versa. The stitch line will be straight and even on both sides of the fabric when the tension is properly adjusted, and if the top thread loops underneath, lift the presser foot and rethread the machine so the thread can seat properly in the tension disks.
16. Presser Foot
It holds the fabric in place from the top counter to the feed dog so that it may be fed through the machine. The material is pressed downward as it is passed through the needle, and different presser feet are used for zipper, buttonhole, blind hem, and overlock work.
17) Presser Dial
The presser dial determines the quantity of pressure to be exerted on the fabric through the presser foot. Lighter weight fabrics necessitate higher pressure for better control of fabric during stitching and vice versa, while too much pressure can leave marks on delicate fabric.
18) Presser Foot Lever
The presser foot is softly engaged and disengaged on the cloth against the feed dogs using this lever. The tension disks are disengaged when it is in the upward position and vice versa, so raise it before threading or removing fabric.
19) Thread Cutter
Sewing machine thread cutters are typically positioned behind the needle of the machine, making it easier to use the thread cutter while moving the cloth to the machine’s rear, and a dull cutter should be replaced or avoided so the thread does not fray.

20) Slide Plate
The bobbin case is shielded from dust and grime by this plastic cover. Additionally, it provides access to the bobbin zone underneath the sewing machine so that other maintenance tasks can be completed there, such as changing the bobbins, and the area should be cleaned often to stop lint build-up.

21) Feed Dog
Feed dogs are a mechanical component resembling teeth that, in conjunction with the presser foot, facilitate the movement of cloth by one stitch. Furthermore, it governs the stitch length by the manipulation of the fabric’s displacement per individual stitch, so if fabric slips or puckers, check feed-dog height, lint build-up, and presser foot pressure.

Conclusion
Knowing these parts helps operators thread, sew, and troubleshoot with more confidence, and regular cleaning keeps the machine running better for longer.
Frequently Asked Questions (FAQs)
Q1. What are the main parts of a sewing machine and their functions?
Ans: The main parts include the needle, bobbin, bobbin case, presser foot, feed dog, tension disks, hand wheel, and take-up lever. Each part helps form the stitch, move fabric, or control thread tension.
Q2. What is the function of the feed dog in a sewing machine?
Ans: Feed dogs move the fabric forward one stitch at a time under the presser foot. If fabric is not moving properly, check lint, presser foot pressure, and whether the feed dog is lowered.
Q3. What is the bobbin case used for?
Ans: The bobbin case holds the bobbin and controls the lower thread supply in front-loading machines. In drop-in systems, the bobbin sits in an integrated holder instead of a removable case.
Q4. How do you adjust sewing machine stitch length?
Ans: Turn the stitch length dial or use the electronic control, depending on the machine model. Use a shorter length for fine seams and a longer length for basting or temporary stitching.
Q5. Why does my sewing machine keep skipping stitches?
Ans: Skipped stitches often happen because the needle is bent, inserted wrongly, or matched poorly to the fabric and thread. Rethread the machine, replace the needle, and check top thread tension first.